PyQt6 Widget Integration
What is a Widget ?
In PyQt, a widget is a graphical user interface (GUI) component that users can interact with. It represents a visual element on the screen, including buttons, labels, text boxes, checkboxes, and more. Widgets are the building blocks of GUI applications in PyQt.
PyQt provides a wide range of pre-built widgets that you can use to create GUI applications. These widgets are subclasses of QWidget, the base class for all GUI objects in PyQt.
The LEnsE team also proposed a serie of widgets to integrate camera previzualisation in your graphical user interface.
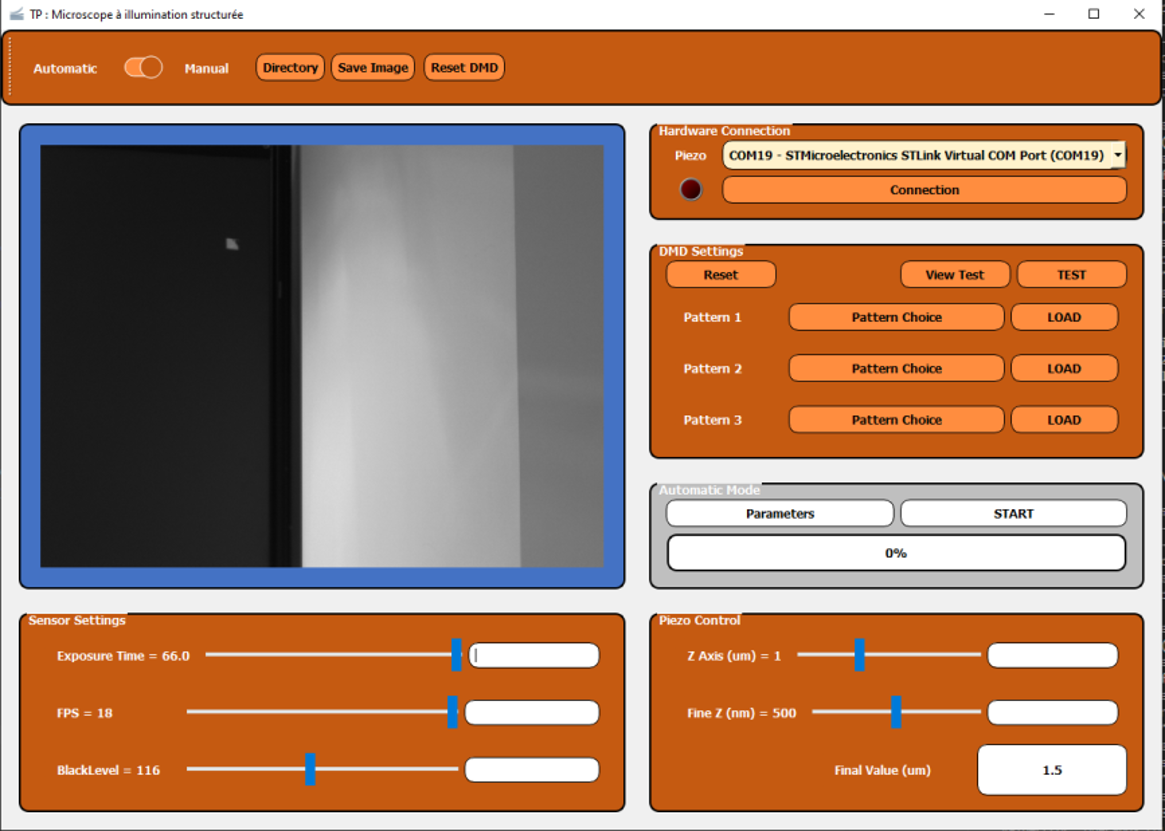
Example of Basler camera integration in a PyQt6 application. Biophotonic labwork - Structured illumination microscope
PyQt6 Camera Widget
PyQt6 is a powerful and versatile tool for Python developers who want to create cross-platform applications with modern GUIs and rich functionality.
It is a set of Python bindings for the Qt application framework. It allows Python developers to access the Qt library’s rich functionality and create cross-platform applications with ease.
The Qt framework is a comprehensive C++ framework that provides tools and libraries for developing applications with graphical user interfaces (GUIs), as well as for networking, multimedia, database integration, and more. It is widely used in the development of desktop, mobile, and embedded applications.
Install PyQt6
All our camera wrappers are accompanied by a widget based on the PyQt6 module.
First of all, you need to install PyQt6 on your computer like this:
pip install pyqt6
Test our widget
All the modules developed by the LEnsE include a main section allowing each of the scripts to be executed separately.
You can test each wrapper and each widget independently.
After downloading (or cloning) the repository, you can browse through the files into the directory concerning your camera. For example, for Basler cameras, go to the /prog/Basler directory.
Then go to the /src directory to find the source codes of the wrapper and the widget.
A typical structure of a that type of directory is as follows:
a
camera_list.pyfile containing a class that allows listing all the available cameras,a
camera_brandname.pyfile containing a class that gathers methods to setup a camera and get raw data (where brandname is the name of the camera manufacturer - for example camera_basler.py for Basler camera),a
camera_brandname_widget.pyfile containing a class that inherits from theQWidget.
Some extra files or directories containing support methods may be present in the /src directory.
Test the wrapper or driver
To test the wrapper developed by the LEnsE, you can execute the following command in a shell where the source files are located:
python camera_brandname.py
Warning
A camera must be connected to your computer.
You will obtain that kind of results:
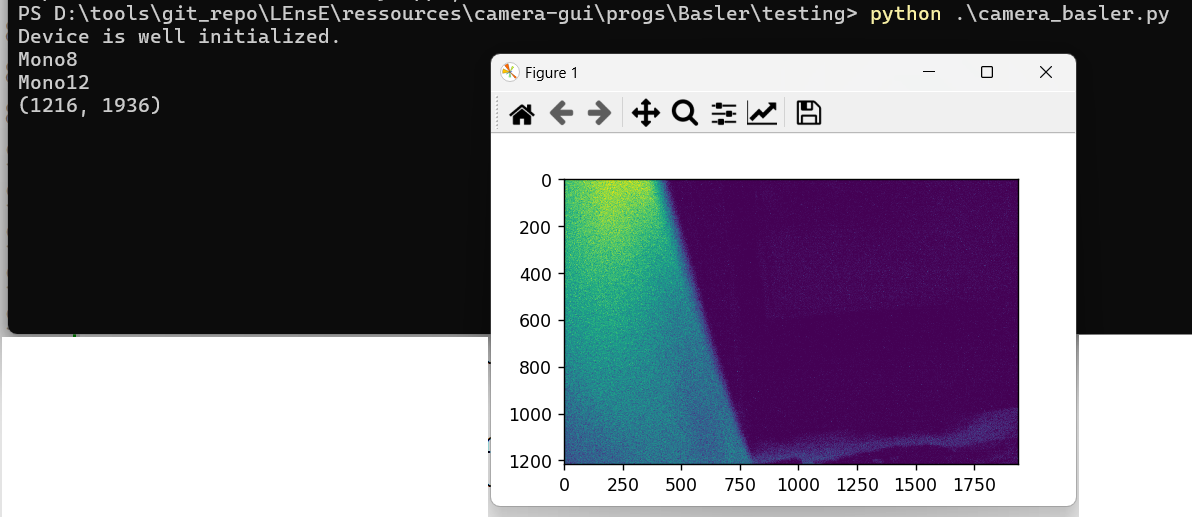
Note
An image may be displayed using the Matplotlib library. An error may occur if this library is not installed in your Python environment.
To install it, execute the following command in a shell:
pip install matplotlib
Test the widget
To test the widget developed by the LEnsE, you can execute the following command in a shell where the source files are located:
python camera_brandname_widget.py
The majority of our widgets consist in 4 main steps: * listing the available cameras * connecting to a selected camera * displaying images from the camera * seting up the parameters of the camera
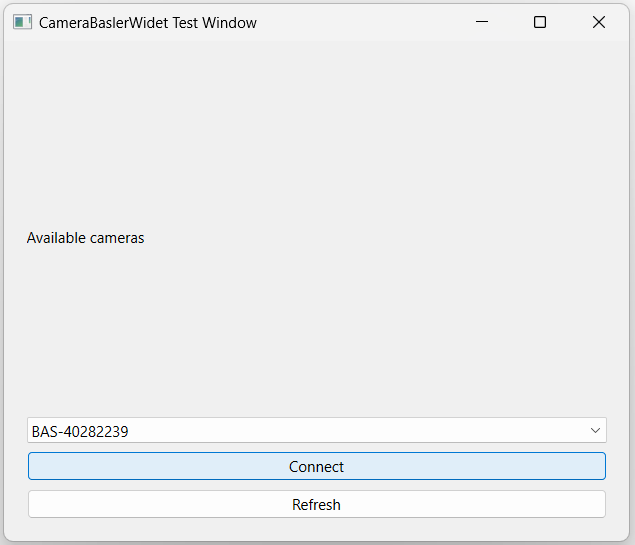
List the cameras
In the first menu, you have the possibility to select one of the connected camera:
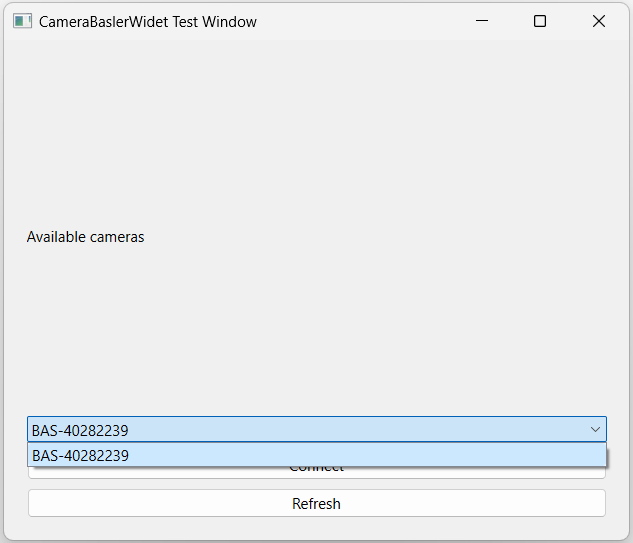
You can also refresh this list if you didn’t connect the camera at the launch of the application.
Connect to a camera
You can then setup the selected camera by clicking on :
Display images from a camera
Real-time images from your camera are now displayed in the main part of the widget:
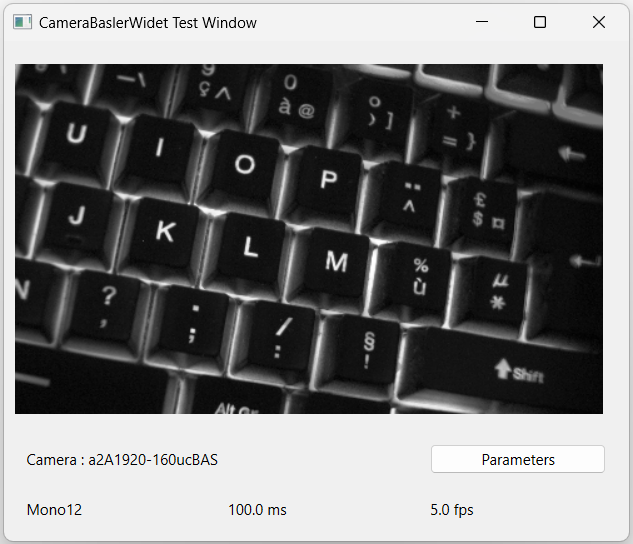
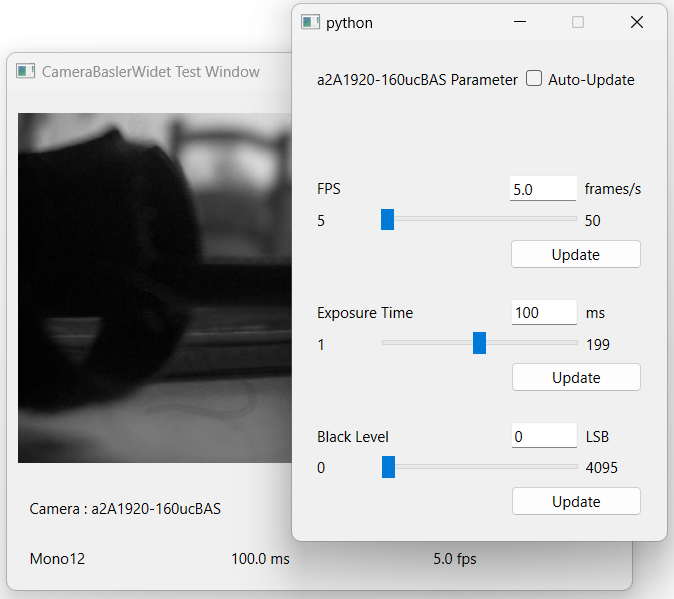
Access to the parameters
By clicking on , you can modify some main parameters of your camera: